Rad A. Drew Photography
Revealing Spirit of Place. Photographer, Explorer, Teacher
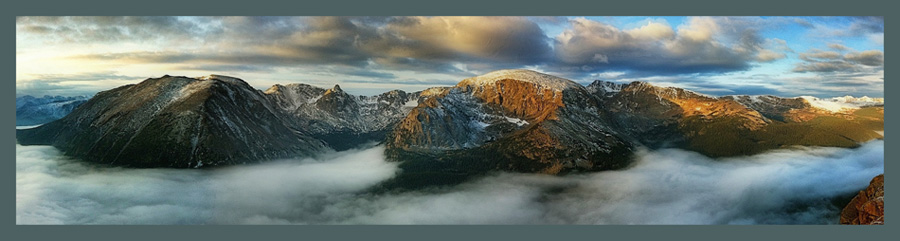
Continental Divide at Dawn
Continental Divide at Dawn
Purchase Prints
Home
Workshops 2024
Discounts!
How I Did It!™ Tutorials for Purchase
Mentoring
Contact
No posts.
Show all posts
No posts.
Show all posts
Home
Subscribe to:
Posts (Atom)